Valentine's Day Sensory Bins: 10 Easy Ideas for Babies & Toddlers
Simple sensory bin ideas for Valentine's Day using household items. Age-appropriate activities from 6 months to 3 years with safety tips included.
Valentine's Day doesn't have to be all about candy and cards. For babies and toddlers, it's the perfect opportunity to explore colors, textures, and new sensory experiences. These sensory bins use simple household items – no special trip to the craft store required.
Why Sensory Bins Work So Well
Sensory bins aren't just trendy Instagram content. They're developmentally perfect for little ones because they:
- Build fine motor skills through scooping, pouring, and grasping
- Encourage problem-solving and cause-and-effect learning
- Provide calming, focused play time
- Can be adapted for any age from 6 months up
Plus, they buy you precious time to drink your coffee while it's still warm. Win-win. (Looking for more ways to keep little ones busy? Try these screen-free activities.)
Safety First: Age-Appropriate Guidelines
Before we dive into the fun stuff, let's talk safety:
6-12 months: Always supervise closely. Use larger items that can't be swallowed. Taste-safe options only.
12-24 months: Still supervising, but can introduce smaller items like dried pasta. Watch for mouthing behaviors.
2-3 years: More independence possible, but keep an eye on play. Most materials are fair game at this age.
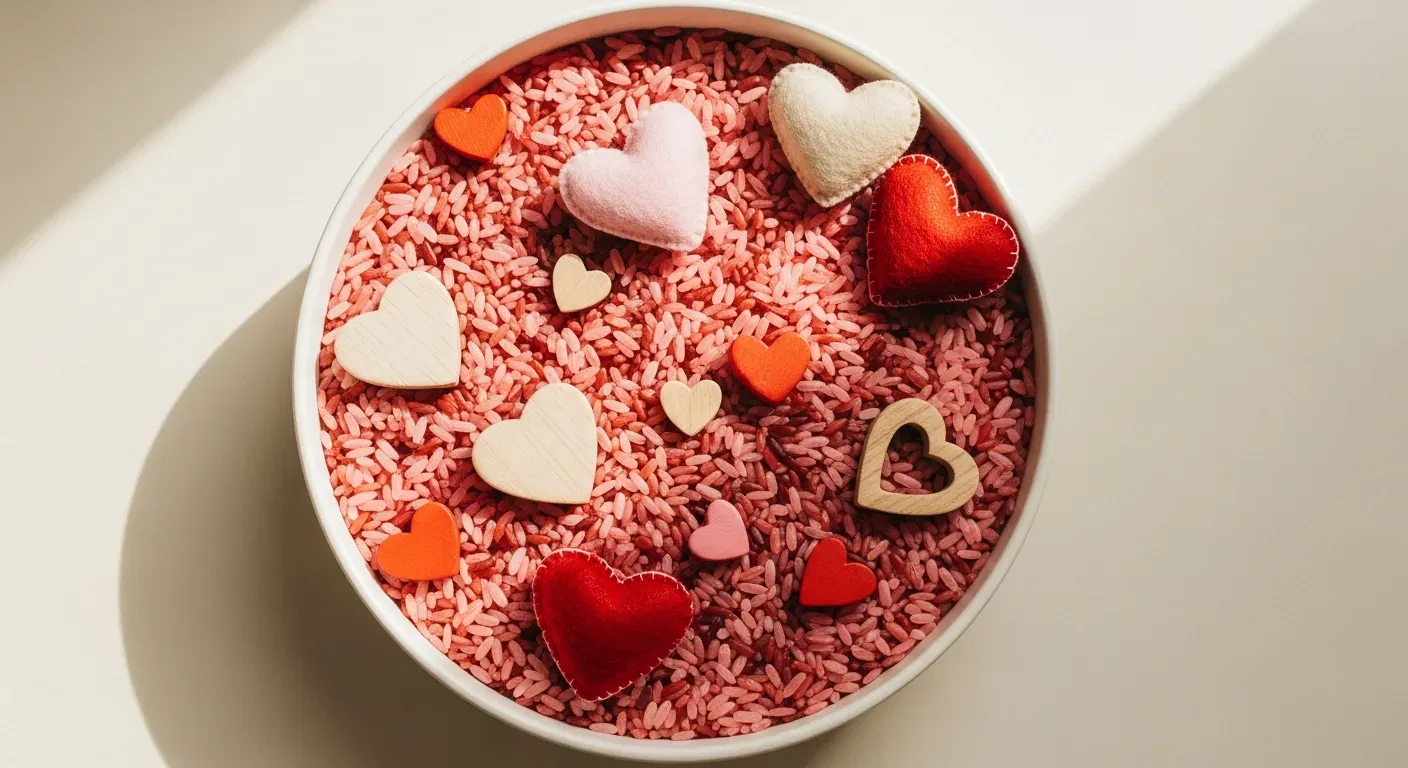
1. Pink & Red Rice Bin
What You Need:
- 2-3 cups white rice
- Red and pink food coloring
- Plastic bin or large bowl
- Heart cookie cutters
- Measuring cups and spoons
How to Make It:
- Divide rice into two bags
- Add a few drops of food coloring to each bag
- Shake vigorously (great job for toddlers!)
- Spread on parchment paper to dry for 30 minutes
- Mix together in your bin
Age tip: For babies, skip the food coloring and use plain rice – it's still fascinating!
2. Water & Hearts Sensory Bottle (Mess-Free!)
What You Need:
- Clear plastic bottle
- Water
- Baby oil or cooking oil
- Red food coloring
- Small foam hearts or confetti
- Hot glue gun (for sealing)
How to Make It:
- Fill bottle 1/3 with water, add food coloring
- Add hearts or confetti
- Fill rest with oil
- Hot glue the lid shut
Perfect for: Babies who put everything in their mouth. Completely contained sensory play!
3. Bubble Foam Love Potion
What You Need:
- Large bin
- Dish soap
- Water
- Hand mixer or whisk
- Red or pink food coloring (optional)
- Plastic hearts or toys
How to Make It:
- Add 2 tablespoons dish soap to bin
- Add 1/4 cup water
- Whisk or mix until foamy
- Hide toys in the foam for discovery
Cleanup tip: Do this one in the bathtub for easy cleanup!
4. Cooked Pasta Hearts
What You Need:
- Cooked pasta (bow ties work great)
- Food coloring (optional)
- Bin or bowl
- Tongs, spoons, containers
How to Make It:
- Cook pasta according to package
- Rinse with cold water
- Optional: toss with a tiny bit of oil and food coloring
- Add to bin with tools for scooping
Why it works: The slippery texture is totally different from dry materials – great sensory variety!
5. Pom Pom & Pipe Cleaner Sort
What You Need:
- Red, pink, white pom poms
- Pipe cleaners bent into heart shapes
- Muffin tin or ice cube tray
- Tongs or tweezers (for older toddlers)
How to Make It:
- Bend pipe cleaners into hearts
- Mix pom poms in a bin
- Show how to sort by color or size
- Use tools or fingers to transfer
Skill building: Great for pincer grasp development and color recognition!
6. Valentine's Oobleck
What You Need:
- 1 cup cornstarch
- 1/2 cup water
- Red food coloring
- Shallow bin
- Plastic hearts or cookie cutters
How to Make It:
- Mix cornstarch and water (add water slowly)
- Add food coloring
- Should be liquid when stirred, solid when pressed
- Add hearts for extra fun
Science bonus: Talk about how it changes from liquid to solid – toddlers are fascinated!
7. Shredded Paper Love Notes
What You Need:
- Shredded paper (pink/red/white)
- Plastic hearts
- Small toys
- Bin or box
How to Make It:
- Shred or cut paper into strips
- Fill bin
- Hide small toys or hearts
- Let them dig and discover
Baby-safe version: Use larger strips of tissue paper that can't be swallowed
8. Ice Heart Excavation
What You Need:
- Ice cube trays or small containers
- Small plastic hearts or toys
- Water
- Bin for melting
- Warm water in squeeze bottles
How to Make It:
- Freeze small toys in ice cubes overnight
- Put ice in bin
- Give warm water in squeeze bottles
- Let them "rescue" the hearts
Learning opportunity: Great for talking about hot/cold, melting, and cause/effect
9. Cotton Ball Cloud Bin
What You Need:
- Cotton balls
- Pink and red pom poms
- Tongs or spoons
- Containers for sorting
How to Make It:
- Fill bin with cotton balls
- Mix in colored pom poms
- Provide tools for picking up
- Sort soft vs. fuzzy
Texture exploration: Perfect for babies who are exploring different textures
10. Taste-Safe Yogurt Paint
What You Need:
- Plain yogurt
- Food coloring
- Paper or high chair tray
- Spoons or hands
How to Make It:
- Divide yogurt into bowls
- Add different food coloring to each
- Let them paint with hands or spoons
- Completely edible = no stress!
For babies: Skip the paper and let them paint directly on their high chair tray
Pro Tips for Sensory Bin Success
- Contain the mess: Use a shower curtain or towel under the bin
- Start small: 15-20 minutes is plenty for most toddlers
- Follow their lead: If they want to dump everything out, that's learning too
- Save and reuse: Store dry materials in bags for next time
- Join in: Your participation makes it more engaging
When Sensory Play Gets Overwhelming
Sometimes sensory bins can be overstimulating. Signs to watch for:
- Throwing materials aggressively
- Getting upset or frustrated
- Trying to eat non-food items repeatedly
If this happens, simplify: Reduce the number of items, stick to one texture, or try a calming sensory bottle instead. You might also pivot to a low-mess craft -- see our Valentine's crafts for toddlers for easy options.
Clean-Up Made Easy
Let's be real – the mess is half the reason we avoid sensory play. Here's how to make it manageable:
- Do water-based bins in the bathtub
- Put a fitted sheet on the floor (corners catch spills)
- Keep a handheld vacuum nearby for dry materials
- Make clean-up part of the activity ("Let's see how fast we can pick up all the rice!")
Keep reading:
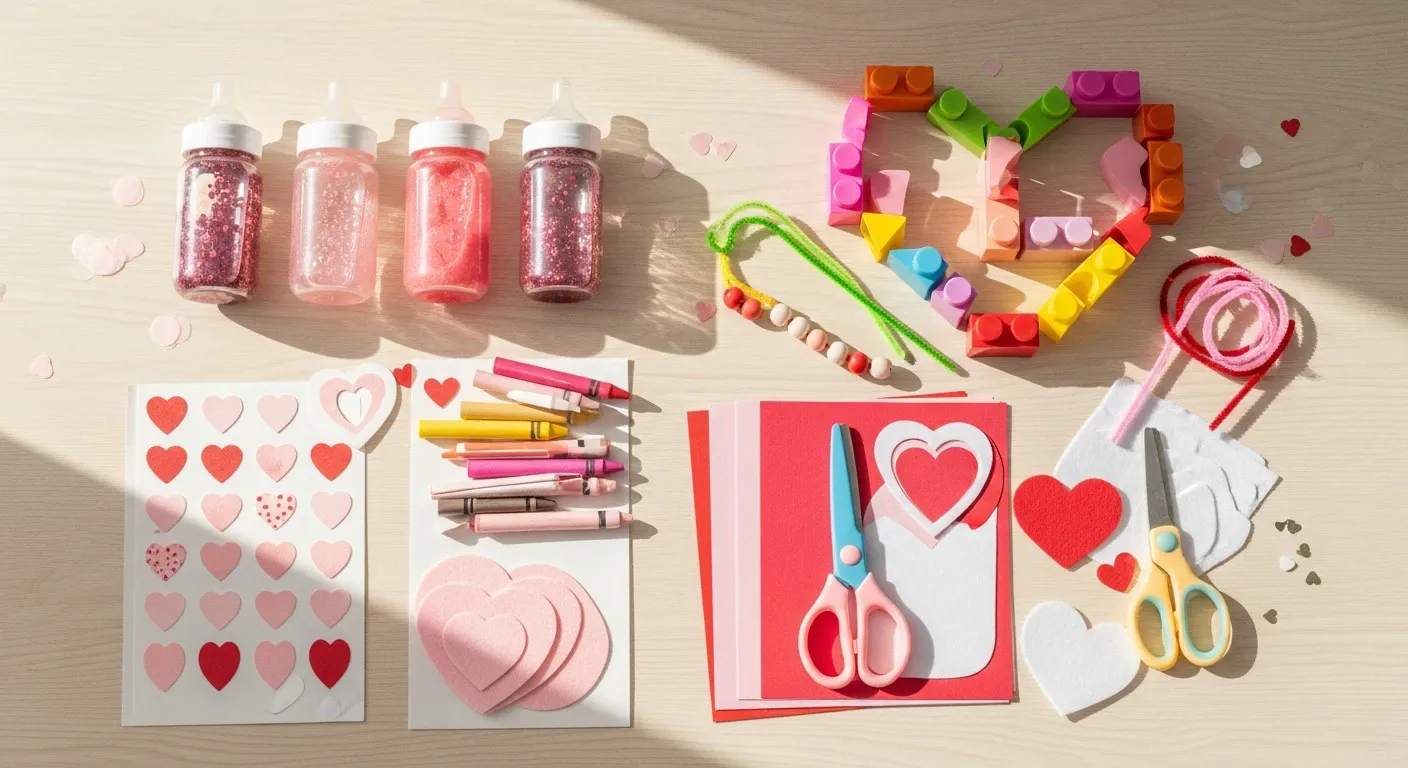
- 15 Valentine's Day Crafts Your Toddler Can Actually Do
- Valentine's Day Activities by Age: From Baby to Big Kid
- Screen-Free Activities That Actually Buy You 20 Minutes
The Bottom Line
Sensory bins don't need to be Pinterest-perfect to be valuable. Your baby doesn't care if the hearts are perfectly cut or if the colors match. They care about exploring, discovering, and spending time with you.
Start with one simple bin this Valentine's Day. See what captures your little one's attention. Build from there. And remember: the mess is temporary, but the learning and memories last.
Happy exploring, and Happy Valentine's Day to you and your little loves!
Tired of the "what's for dinner?" panic?
Try our free AI meal plan generator — get a full week of family-friendly dinners in 60 seconds. No signup required.
You might also like
Valentine's Day Activities by Age: From Baby to Big Kid
Age-appropriate valentine activities by age kids love. From sensory play for babies to STEM challenges for big kids, find the perfect Valentine's Day activity for your child's developmental stage.
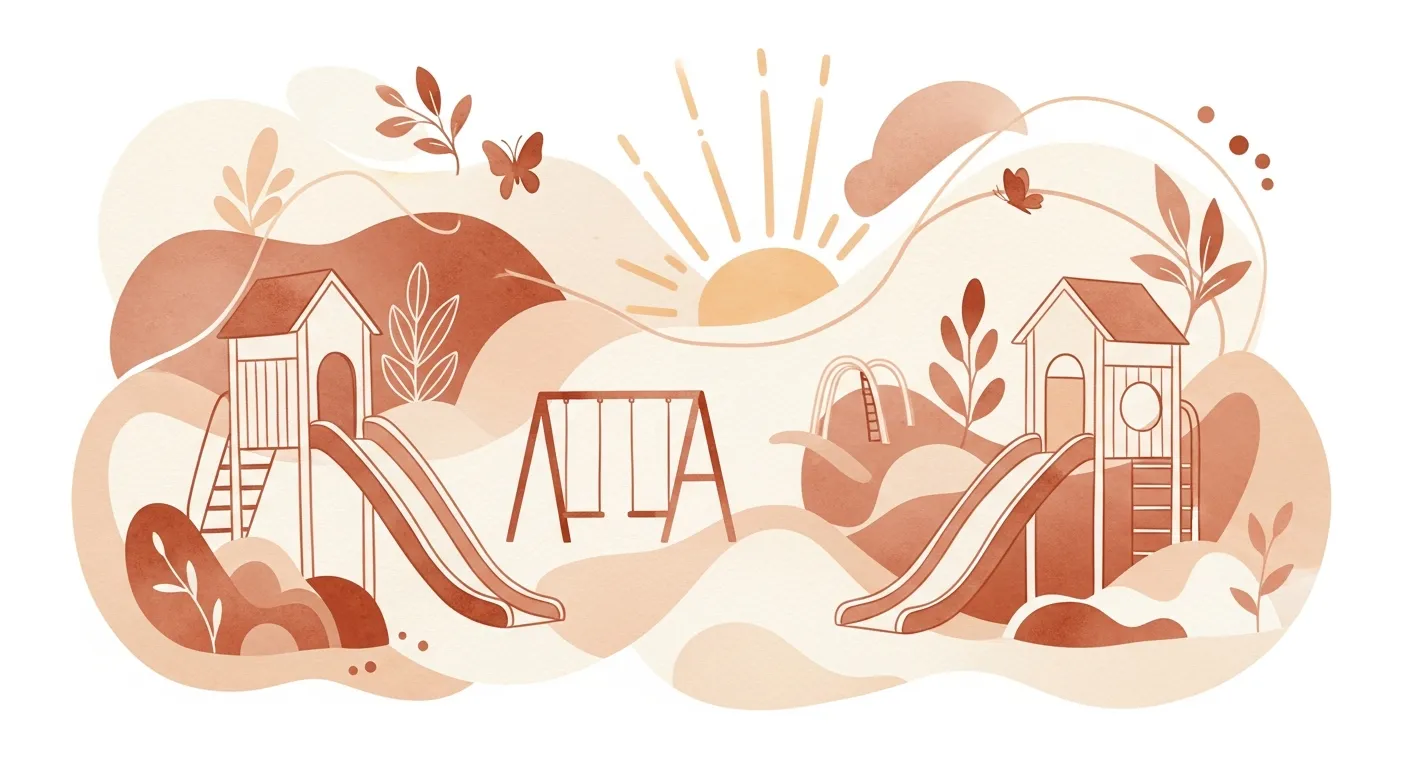
Outdoor Activities by Age: From Crawler to Kindergartener
Developmentally appropriate outdoor play ideas that actually match what your child can do right now. Age-banded activities from 6 months to 5 years that make outdoor time easier and more fun.
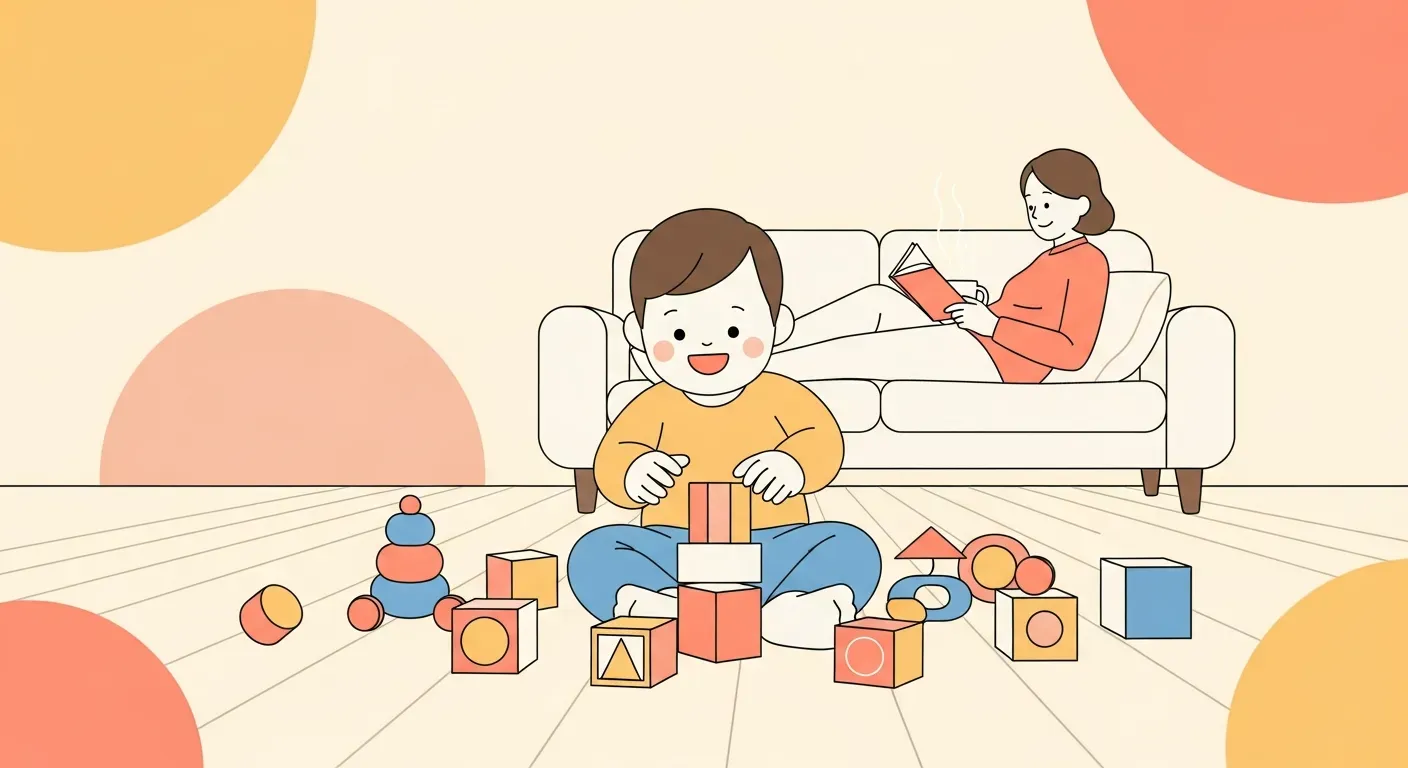
Screen-Free Activities That Actually Buy You 20 Minutes
Practical alternatives when you need a break but don't want the meltdown after. Real activities that have been tested by tired parents.